

Unwanted pop-up ads on Android phones are one of the most frustrating digital nuisances. Whether they appear while you are browsing websites in Google Chrome or suddenly hijack your home screen while using other applications, these ads slow down your device, consume mobile data, and drain battery life.
In most cases, pop-up ads are caused by permissive browser settings, notification permissions granted to intrusive websites, or sneaky third-party applications running in the background.
Below is a complete, step-by-step guide explaining how to stop pop up ads on Android quickly and safely.
1. How to Stop Pop-Up Ads in Google Chrome
Most web-based pop-up ads originate within your mobile web browser. Fortunately, Google Chrome has built-in tools to block intrusive pop-ups and redirect scripts automatically.
Step 1: Block Pop-Ups and Redirects
-
First, open the Google Chrome app on your Android phone.
-
Next, tap the three vertical dots in the top-right corner and select Settings.
-
After that, scroll down and tap Site settings.
-
Finally, tap Pop-ups and redirects and toggle the switch to Blocked.
Step 2: Block Ads on Intrusive Sites
-
To begin, return to the Site settings menu.
-
Then, tap Ads (or Intrusive ads).
-
Consequently, toggle the switch to ensure intrusive or misleading ads are blocked.
Step 3: Turn Off Unwanted Site Notifications
Additionally, many fake pop-ups are actually push notifications sent by websites you accidentally allowed.
-
Inside Site settings, tap Notifications.
-
Carefully review the list under Allowed.
-
Whenever you spot an unfamiliar or suspicious website, tap it and select Remove & reset.
[ Open Chrome Settings ] ──> [ Tap Site Settings ] ──> [ Block Pop-ups & Redirects ] ──> [ Reset Site Notifications ]
2. How to Stop Pop-Up Ads on Your Android Home Screen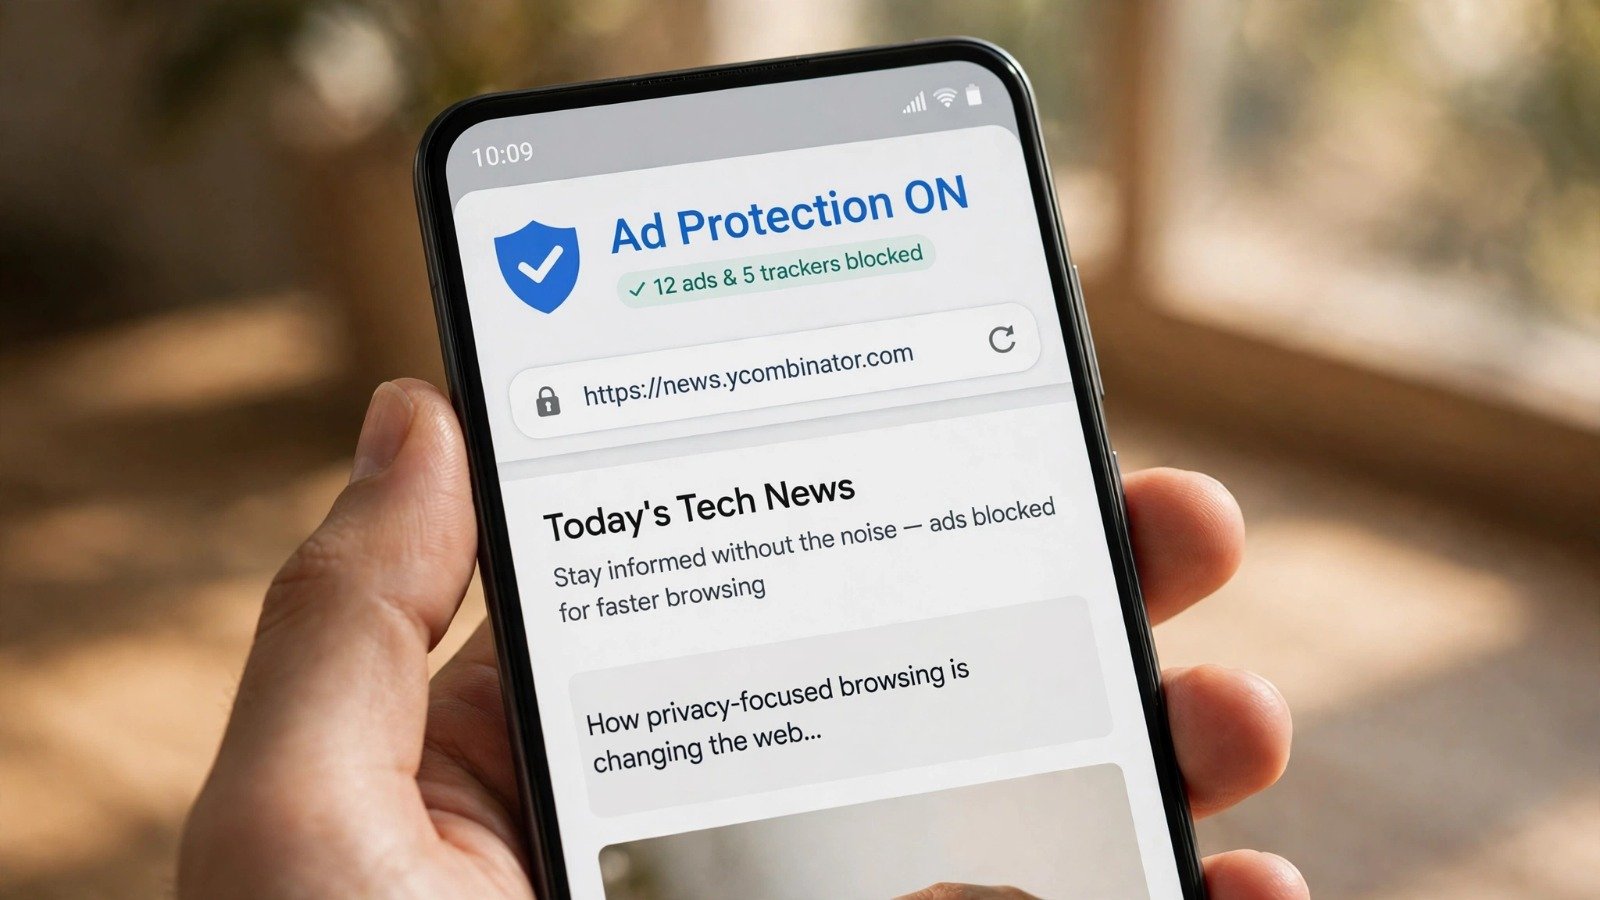
However, if pop-up ads appear on your home screen or over other apps when your browser is closed, a rogue app installed on your phone is causing the issue.
Step 1: Revoke “Display Over Other Apps” Permissions
In fact, adware apps use special permissions to overlay full-screen ads over your normal phone interface.
-
Start by opening your phone’s Settings app.
-
Next, navigate to Apps (or Apps & Notifications).
-
Then, tap Special app access (usually under Advanced or the top-right menu).
-
Select Display over other apps.
-
As a result, review the list and turn off permission for any app that does not require it (such as free flashlights, QR scanners, or simple game apps).
Step 2: Identify and Uninstall Rogue Applications
-
First, open the Google Play Store.
-
Next, tap your profile icon in the top-right corner and select Manage apps & device.
-
After that, tap the Manage tab and sort by Recently used.
-
Look for apps near the top of the list that you do not recognize opening recently.
-
Finally, tap the app and select Uninstall.
| Ad Type | Typical Cause | Best Fix |
| In-Browser Pop-Up | Permissive website permissions | Block “Pop-ups & redirects” in Chrome settings |
| Notification Ad | Allowed site notifications | Remove site permissions in Chrome “Notifications” |
| Home Screen Overlay | Third-party adware application | Revoke “Display over other apps” & uninstall app |
Additionally, keeping your hardware free from intrusive adware helps protect internal components, which pairs well with hardware care like how-to-clean-smartphone-charging-port-safely and battery health practices covered in simple-ways-to-extend-smartphone-battery-lifespan. Furthermore, clear communication habits in business also rely on digital security, as discussed in how-to-ask-for-client-testimonials.
3. Extra Steps for Lasting Ad Protection
If pop-up ads persist after tweaking browser and app settings, consider these additional precautions:
-
Enable Safe Browsing in Chrome: Navigate to Chrome Settings > Privacy and Security > Safe Browsing, and select Enhanced protection.
-
Clear Browser Cache and Cookies: Wipe stored temporary files in Chrome to eliminate persistent tracking scripts.
-
Use Private DNS for Ad Blocking: Go to Settings > Network & Internet > Private DNS, select Private DNS provider hostname, and enter
dns.adguard.com. As a result, this blocks many known ad servers at the network level.
Want More Insights to Grow Your Digital Presence & Daily Productivity?
Whether you need to fix your website’s technical performance or build a smarter, burnout-free work routine, NewsUpTo delivers practical guides to keep you ahead.





Leave feedback about this