
Relying on monthly subscription services for cloud storage and video streaming often means dealing with rising fees, disappearing movie titles, and zero control over personal data. Setting up a homelab media and storage server solves these issues by giving you complete ownership over your digital library, photo backups, and private files.
A home server runs 24/7 on your local network. It lets you stream high-definition video to any TV, automatically back up phone photos, and sync critical documents across devices without handing your personal files over to third-party corporations.
Here is a practical, step-by-step guide to building your first home media and storage server from scratch.
What Do You Need to Start a Homelab Media Server?
Building a starter home media and storage server involves four fundamental components:
-
Hardware: A low-power mini PC (such as an Intel NUC or Beelink) or an inexpensive refurbished desktop computer.
-
Storage Drives: High-capacity hard drives (HDDs) for bulk media storage paired with an NVMe SSD for the operating system and app caches.
-
Operating System: Dedicated, easy-to-manage NAS platforms like TrueNAS SCALE or Unraid.
-
Media Software: Self-hosted applications like Jellyfin or Plex running inside isolated Docker containers.
Step 1: Choose the Right Hardware for Your Budget
You do not need to spend thousands of dollars on noisy enterprise server racks. Most beginners start with compact, energy-efficient setups that sit quietly on a desk or bookshelf.
Hardware Options Compared
| Hardware Type | Pros | Cons | Ideal For |
| Used Business Desktop (Dell OptiPlex / HP EliteDesk) | Very affordable ($100 to $200), easy to upgrade, internal bays for 3.5-inch hard drives. | Larger physical footprint, slightly higher idle power draw. | Best Overall Budget Pick for multi-drive bulk storage. |
| Mini PC (Intel NUC / Beelink) | Ultra-low power consumption (10W to 25W), tiny footprint, near-silent operation. | Limited internal space for large 3.5-inch hard drives (requires external enclosure). | Apartment dwellers prioritizing silence and low electricity bills. |
| Custom DIY Tower | Full control over components, high drive bay count, strong upgrade path. | Higher upfront hardware cost ($400 to $800+). | Users building a heavy-duty, long-term home cloud server. |
Step 2: Pick Your Home Server Operating System
While you can run media apps on standard Windows or macOS, dedicated server operating systems deliver far better stability, drive failure protection, and browser-based management tools.
Top Beginner Server Operating Systems
-
TrueNAS SCALE: A free, open-source platform built on Debian Linux and the enterprise-grade ZFS file system. It protects against silent data corruption and includes native application and container management. Review installation steps in the TrueNAS Official Documentation.
-
Unraid: A commercial operating system famous for its intuitive web interface and flexible storage arrays. Unraid lets you mix hard drives of different capacities and add extra drives one at a time as your library grows. Explore setup guides in the Unraid Official Documentation.
-
Proxmox VE: A bare-metal hypervisor designed to run multiple Virtual Machines (VMs) and Linux Containers (LXCs) side by side. Ideal if you want to run a dedicated NAS alongside separate Linux servers for home automation or coding experiments.
Step 3: Install Docker and Essential Media Apps
Instead of installing software directly onto your host operating system, modern homelabs run services inside Docker containers. Docker isolates each application with its own dependencies, preventing software conflicts and making updates effortless.
Core Homelab Applications to Install First
-
Jellyfin (Media Streaming): A completely free, open-source media system that organizes your movies, shows, and music with rich cover art and streams them to smart TVs, phones, and browsers. Check platform setup instructions in the Jellyfin Official Documentation.
-
Immich (Self-Hosted Photo Backup): A fast, private alternative to Google Photos that automatically backs up full-resolution photos and videos from your phone over Wi-Fi.
-
Pi-hole or AdGuard Home (Network Ad Blocking): Filters advertisements and tracking domains across every phone, smart TV, and laptop connected to your home router.
-
Portainer (Container Management): A clean browser dashboard that lets you deploy, monitor, and update Docker containers with a few clicks.
To explore hundreds of additional open-source tools for notes, password management, and file syncing, browse the Awesome Self-Hosted GitHub Repository.
If you enjoy building custom technical systems for productivity, check out our guides on how to build custom ai workflow small business lead generation and build sell notion systems small business operations.
Step 4: Configure Secure Remote Access
Once your server works smoothly on your home Wi-Fi, you will want secure access to your files and media library while traveling.
Never Expose Raw Ports to the Public Internet
Opening standard router ports (port forwarding) directly to your server exposes your home network to automated vulnerability scanners. Instead, set up a zero-trust mesh VPN:
-
Tailscale or WireGuard: Installs in minutes on both your server and your mobile devices, creating an encrypted peer-to-peer tunnel. Your phone and laptop can reach your home server from anywhere in the world without opening a single inbound firewall port on your router.
3 Essential Rules for New Homelab Operators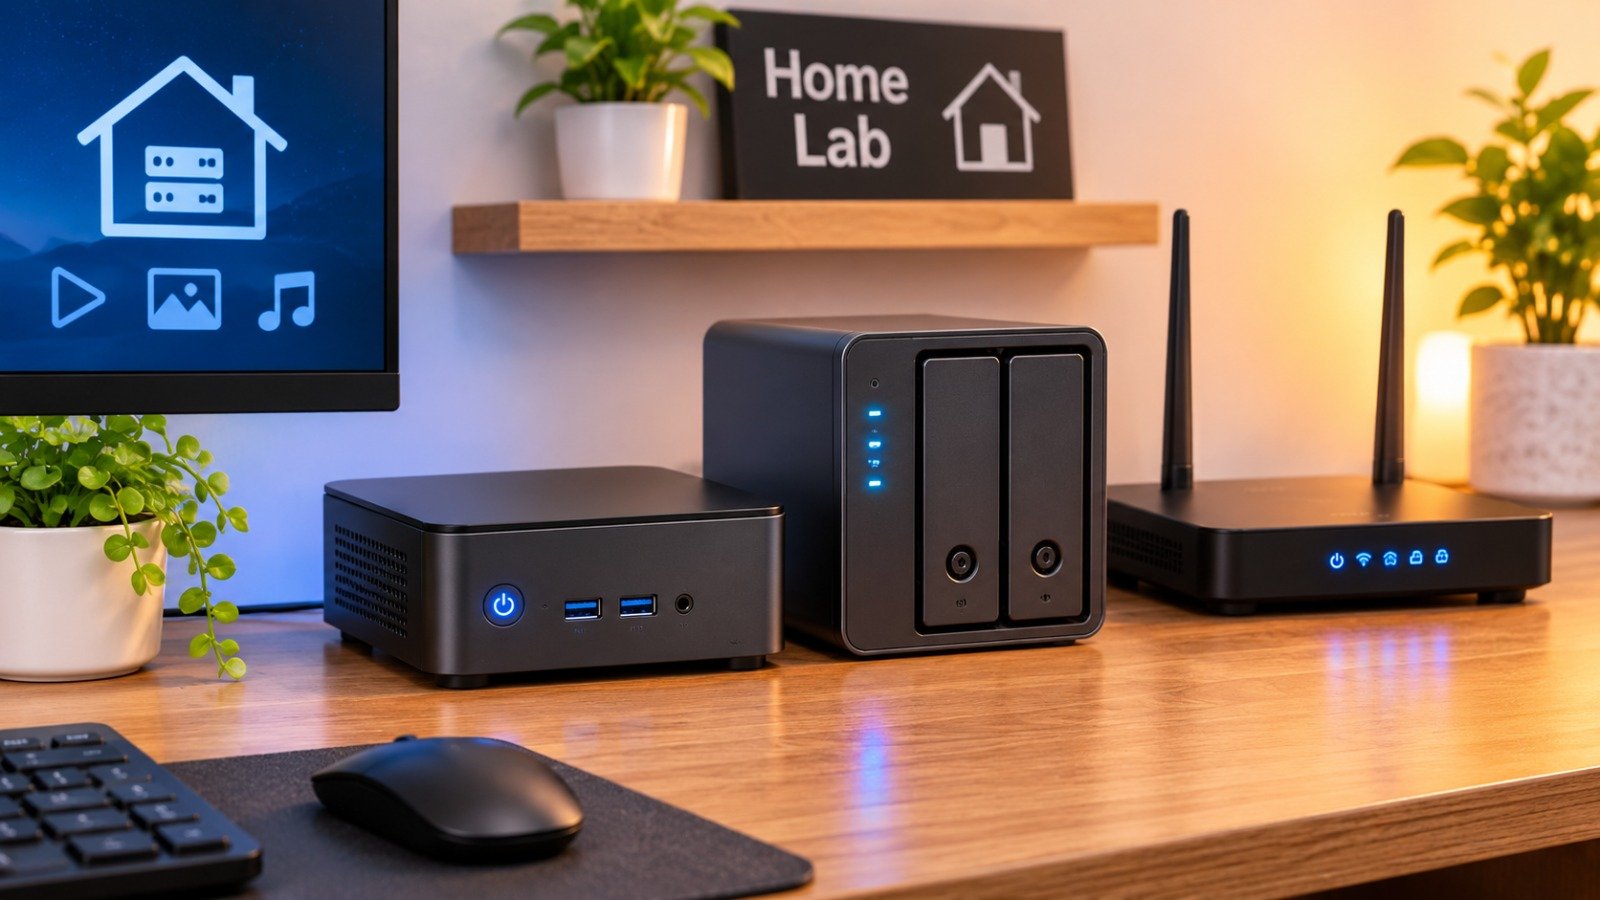
-
Follow the 3-2-1 Backup Rule: Drive redundancy (like RAID or ZFS mirrors) keeps your server running if one hard drive dies, but it does not protect against accidental deletion, ransomware, or fire. Keep 3 copies of irreplaceable files on 2 different media types, with 1 encrypted copy stored offsite.
-
Track Idle Electricity Consumption: A server runs continuously. Choosing low-wattage components (such as Intel N-series mini PCs or efficient desktop processors) keeps your monthly power cost minimal.
-
Document Your Configuration: Keep a simple markdown log of your container ports, volume mounts, and static IP addresses so future upgrades and troubleshooting take minutes instead of hours.
Building a home server often leads to late-night tinkering; protect your rest schedule by reading how to use smart wearables oura data optimize deep sleep.
Want More Insights to Grow Your Digital Presence & Daily Productivity?
Whether you need to fix your website’s technical performance or build a smarter, burnout-free work routine, NewsUp To delivers practical guides to keep you ahead.


Leave feedback about this