
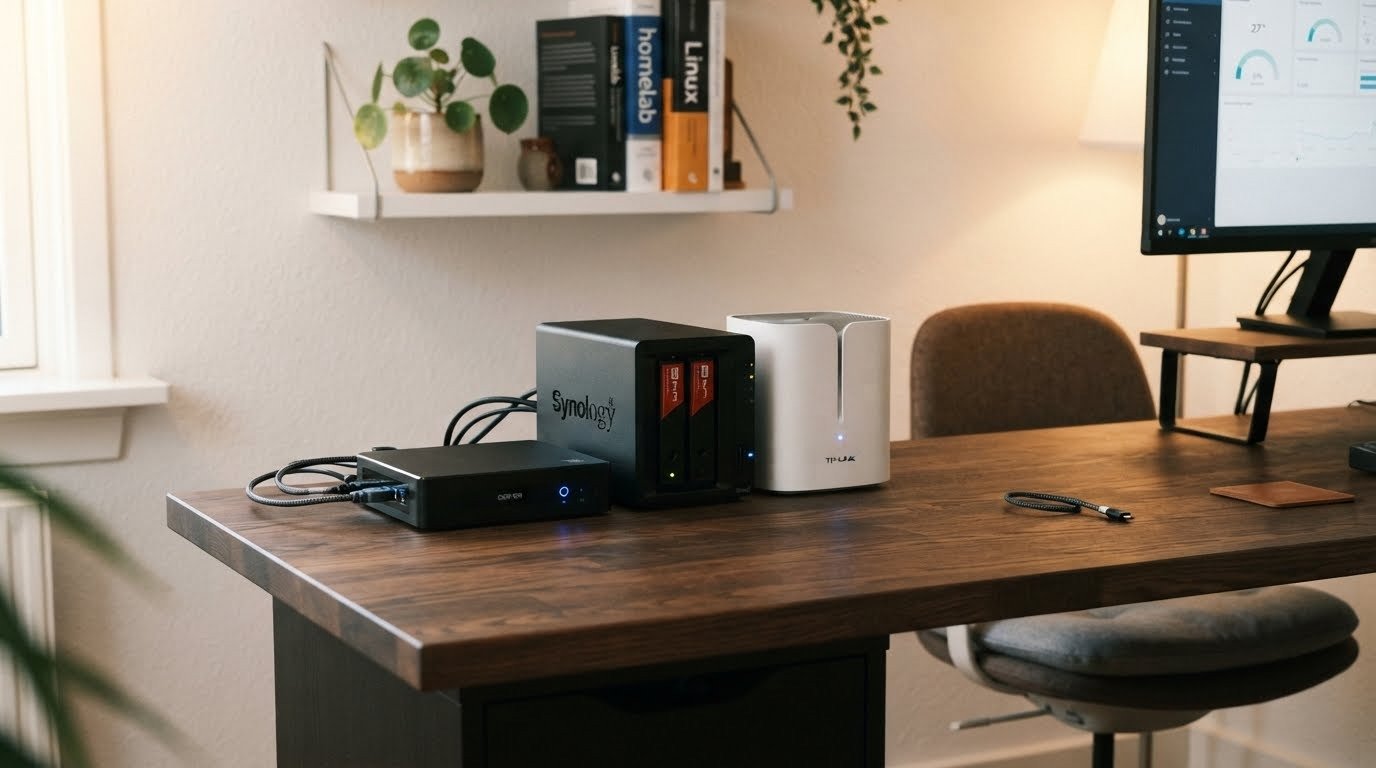
Relying on monthly subscription services for cloud storage and video streaming often means dealing with rising costs, removing titles from content libraries, and having zero control over personal data. Setting up a homelab media and storage server solves these issues by giving you full control over your digital library, photo backups, and private files.
A home server runs 24/7 on your local network. It lets you stream high-definition movies to any TV, automatically back up phone photos, and store critical documents without handing your personal data over to third-party tech corporations.
Step 1: Choose the Right Hardware for Your Budget
You do not need to spend thousands of dollars on enterprise server racks or high-power equipment. Most beginners start with efficient, whisper-quiet setups.
Hardware Options Compared
| Hardware Type | Pros | Cons | Ideal For |
| Used Desktop PC (Dell OptiPlex / HP EliteDesk) | Very cheap ($100–$200), easy to upgrade, room for multiple 3.5-inch hard drives. | Larger footprint, slightly higher electricity draw. | Best Overall Budget Pick for multi-drive storage. |
| Mini PC (Intel NUC / Beelink) | Extremely low power consumption (10W–25W), compact size, near-silent. | Limited physical space for large 3.5-inch hard drives. | Apartment dwellers prioritizing silence and small size. |
| Custom DIY Tower | Complete control over parts, high drive capacity, modern processing power. | Higher upfront cost ($400–$800+). | Users who want a heavy-duty, future-proof home server. |
Step 2: Pick Your Home Server Operating System
While you could run standard Windows, dedicated server platforms offer better stability, drive protection, and remote management interfaces.
Top Beginner Operating Systems
-
TrueNAS SCALE: Free, open-source platform based on Linux and the advanced ZFS file system. It provides top-tier data protection against file corruption and features native Docker container support.
-
Unraid: A paid operating system ($49–$129) famous for its user-friendly interface. It allows you to mix and match hard drives of different sizes and add storage one drive at a time over time.
-
Proxmox VE: A hypervisor operating system designed for running multiple Virtual Machines (VMs) and lightweight Linux Containers (LXCs) simultaneously. Best for users who want an experimental lab alongside media streaming.
Step 3: Install Docker and Essential Media Apps
Instead of installing applications directly onto your operating system, modern homelabs use Docker. Docker packages each application into an isolated “container,” preventing software conflicts and making app updates easy.
Core Homelab Media Applications
-
Jellyfin or Plex (Media Server): Scans your video folder, pulls movie cover artwork, and streams media directly to your smart TV, phone, or tablet.
-
Immich (Photo Backup): A self-hosted alternative to Google Photos that automatically backs up photos from your smartphone in full quality.
-
Pi-hole or AdGuard Home (Network Privacy): Blocks ads and malicious trackers across every connected phone, TV, and computer on your home Wi-Fi network.
-
Portainer or Komodo (Dashboard Manager): A clean web management interface that lets you control, restart, and update Docker containers with a single click.
To discover more tools for automating your daily digital life, check out our guide on the top ai tools for automating daily workflows.
Step 4: Set Up Secure Remote Access
Once your server is running locally, you will likely want to access your movie library or files while traveling or working remotely.
Never Open Direct Router Ports
Opening raw router ports (port forwarding) exposes your home network directly to web bots and hacking attempts. Instead, use a zero-trust encrypted mesh network tool:
-
Tailscale or WireGuard: Creates a secure, private encrypted tunnel between your remote devices (like your phone or laptop) and your home server. It acts as if your phone is connected directly to your home Wi-Fi network, even when you are on the other side of the world.
Protect your devices on open public Wi-Fi networks by reading our detailed breakdown of digital privacy tools for travelers.
3 Essential Rules for New Homelab Operators
-
Follow the 3-2-1 Backup Strategy: Storing files on a redundant RAID array protects against single drive failures, but it is not a true backup. Keep 3 copies of critical data on 2 different storage types, with 1 copy stored offsite (e.g., encrypted cloud storage or a drive kept at a family member’s home).
-
Monitor Power Draw: Choose energy-efficient hardware. A server running 24/7 at high wattage can noticeably raise your monthly electricity bill.
-
Start Small: Avoid installing dozens of complex apps on your first day. Get basic file storage and one media server app working smoothly before expanding your setup.
Learn how to connect data pipelines without code in our step-by-step tutorial on how to
Step 1: Choose the Right Hardware for Your Budget
You do not need to spend thousands of dollars on enterprise server racks or high-power equipment. Most beginners start with efficient, whisper-quiet setups.
Hardware Options Compared
| Hardware Type | Pros | Cons | Ideal For |
| Used Desktop PC (Dell OptiPlex / HP EliteDesk) | Very cheap ($100–$200), easy to upgrade, room for multiple 3.5-inch hard drives. | Larger footprint, slightly higher electricity draw. | Best Overall Budget Pick for multi-drive storage. |
| Mini PC (Intel NUC / Beelink) | Extremely low power consumption (10W–25W), compact size, near-silent. | Limited physical space for large 3.5-inch hard drives. | Apartment dwellers prioritizing silence and small size. |
| Custom DIY Tower | Complete control over parts, high drive capacity, modern processing power. | Higher upfront cost ($400–$800+). | Users who want a heavy-duty, future-proof home server. |
CPU Tip for Media Transcoding: Look for an Intel CPU (8th generation or newer) featuring Intel QuickSync technology. This integrated graphics chip handles seamless hardware video conversion (transcoding) for Jellyfin or Plex without overloading your processor.
Step 2: Pick Your Home Server Operating System
While you could run standard Windows, dedicated server platforms offer better stability, drive protection, and remote management interfaces.
Top Beginner Operating Systems
-
TrueNAS SCALE: Free, open-source platform based on Linux and the advanced ZFS file system. It provides top-tier data protection against file corruption and features native Docker container support.
-
Unraid: A paid operating system ($49–$129) famous for its user-friendly interface. It allows you to mix and match hard drives of different sizes and add storage one drive at a time over time.
-
Proxmox VE: A hypervisor operating system designed for running multiple Virtual Machines (VMs) and lightweight Linux Containers (LXCs) simultaneously. Best for users who want an experimental lab alongside media streaming.
Step 3: Install Docker and Essential Media Apps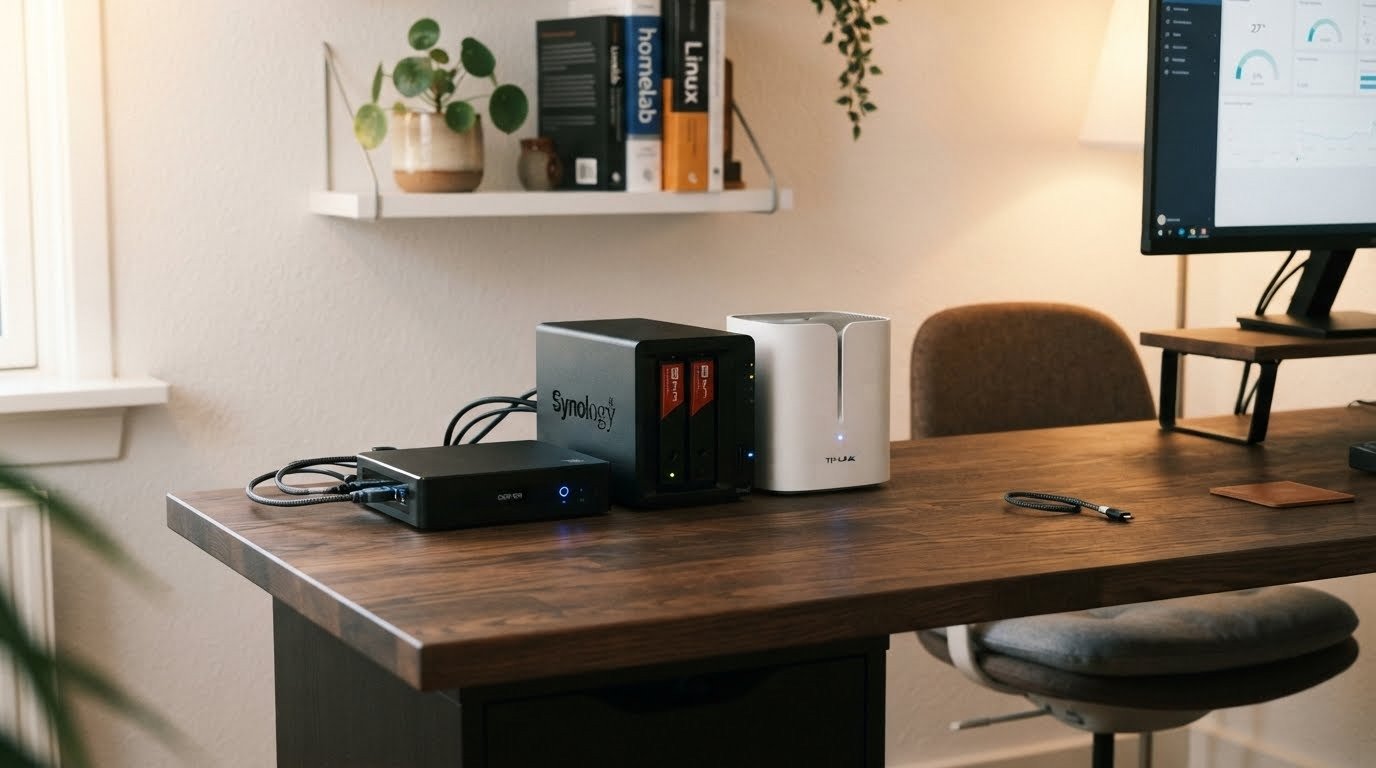
Instead of installing applications directly onto your operating system, modern homelabs use Docker. Docker packages each application into an isolated “container,” preventing software conflicts and making app updates easy.
Core Homelab Media Applications
-
Jellyfin or Plex (Media Server): Scans your video folder, pulls movie cover artwork, and streams media directly to your smart TV, phone, or tablet.
-
Immich (Photo Backup): A self-hosted alternative to Google Photos that automatically backs up photos from your smartphone in full quality.
-
Pi-hole or AdGuard Home (Network Privacy): Blocks ads and malicious trackers across every connected phone, TV, and computer on your home Wi-Fi network.
-
Portainer or Komodo (Dashboard Manager): A clean web management interface that lets you control, restart, and update Docker containers with a single click.
To discover more tools for automating your daily digital life, check out our guide on the top ai tools for automating daily workflows.
Step 4: Set Up Secure Remote Access
Once your server is running locally, you will likely want to access your movie library or files while traveling or working remotely.
Never Open Direct Router Ports
Opening raw router ports (port forwarding) exposes your home network directly to web bots and hacking attempts. Instead, use a zero-trust encrypted mesh network tool:
-
Tailscale or WireGuard: Creates a secure, private encrypted tunnel between your remote devices (like your phone or laptop) and your home server. It acts as if your phone is connected directly to your home Wi-Fi network, even when you are on the other side of the world.
Protect your devices on open public Wi-Fi networks by reading our detailed breakdown of digital privacy tools for travelers.
3 Essential Rules for New Homelab Operators
-
Follow the 3-2-1 Backup Strategy: Storing files on a redundant RAID array protects against single drive failures, but it is not a true backup. Keep 3 copies of critical data on 2 different storage types, with 1 copy stored offsite (e.g., encrypted cloud storage or a drive kept at a family member’s home).
-
Monitor Power Draw: Choose energy-efficient hardware. A server running 24/7 at high wattage can noticeably raise your monthly electricity bill.
-
Start Small: Avoid installing dozens of complex apps on your first day. Get basic file storage and one media server app working smoothly before expanding your setup.
Learn how to connect data pipelines without code in our step-by-step tutorial on how to build a no-code workflow.
Want More Insights to Grow Your Digital Presence & Daily Productivity?
Whether you need to fix your website’s technical performance or build a smarter, burnout-free work routine, NewsUp To delivers practical guides to keep you ahead.

Leave feedback about this